Swag and Sorcery Guide
Last updated:
If you like grinding and crafting, you'll probably like Swag and Sorcery!
The idle aspect of the game is where you'll be spending the most time. You click on a dungeon expedition and wait until it is completed, which gives you gold and resources that you can use to improve the village and craft new items for your characters.
Once they are strong enough, you tackle new dungeons and rinse and repeat.
It takes around 15 hours to complete the game, and this probably goes up to around 20 to 25 hours if you want to get all Steam achievements.
Table of contents
- Crafting tips
- Making gold and training your characters
- Character skills
- Quests: The Magical Forest
- Quests: Battlefield and Dark Ruins
- Quests: Hot Springs, Swamp and Underground City
- Bugs in the game
Crafting tips

There is something called craft efficiency that is indicated in the upper right of the different crafting stations.
Craft efficiency is very important as it doubles or triples the number of processed materials and increases the level and stats of equipment when you get a good roll of the dice.
For example, if you craft 5 iron ingots and get an efficient craft, the result will be 10 iron ingots. Or if you craft a level 5 green rarity armor, the result might be a level 8 blue rarity armor.
The crafting stations are focused on different character attributes :
- Smithy: Strength
- Hunting Lodge: Agility
- Laboratory: Stamina
- Magic Shop: Intelligence
You should aim for the highest attribute that you can get for each of those on 4 of your characters. A strength crafter, an agility crafter, a stamina crafter, and an intelligence crafter.
The others don't need to do this, as you will always use the same characters for crafting.
When starting out, my recommendation for your first crafter with a very high attribute would be the stamina one. My reasoning is that the laboratory crafted items often are the crafting bottleneck. So getting twice the quantity of monster items when processing in the laboratory makes crafting in general much easier.
The other resources are easy to get.
Making gold and training your characters
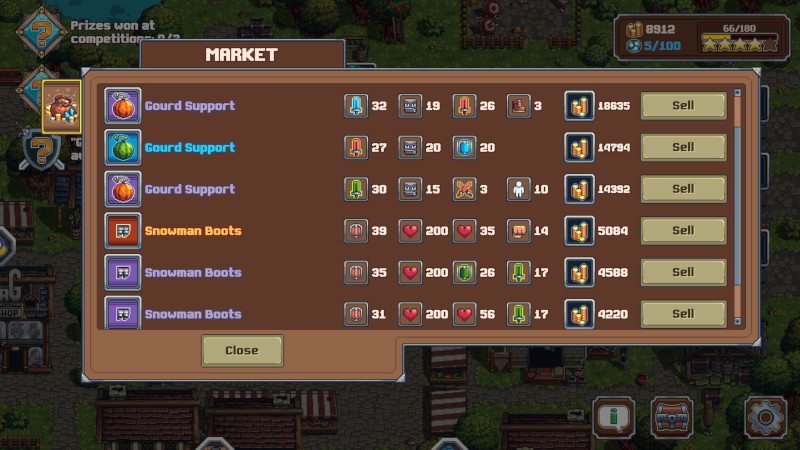
Crafting equipment and selling it at the market is your main income.
Making sure you craft efficiently with specialized characters is the best way to maximize this income. You will get more processed materials with efficient crafts, which in turn can be used to craft more equipment, which itself will sell for more gold on efficient crafts since it increases its level.
Later in the game, you can also get equipment with the stealing stat. It rewards a bit of gold on each attack.
The best one for that seems to be the Massive Shotgun, which is an agility weapon that gives 60-100 gold on each attack. It's not game-changing, but it definitely adds up over time.
Gold is sometimes required to upgrade buildings in the village or to complete quests. But it's main use is upgrading your characters at the Training Camp.
One thing that I missed at the beginning was the secondary tab of the Training Camp (the target). With it, you can increase specific attributes on each character.
Make sure to use it to improve your crafting characters first!
Later in the game, try to use that feature to improve all of the attributes of all characters. It may not seem useful at first but agility, for example, increases the hit rate and the evasion of a character even if he isn't using an agility weapon. Stamina increases health and armor, strength increases health and intelligence increases element damage resist.
Those might not increase your damage, but they improve your survival chances!
Character skills
All characters can be used for any role and it will work, but some skills make characters slightly better for specific roles than others.
Moriko
She is better as a ranged damage dealer due to her Miracle skill which does 3 hits instead of 2 on lucky hits. Agility is probably better than intelligence as it seems to have a heavy focus on raw damage and critical hits.
Kazuki
She is better as a frontline tank due to her Epicgag which has a 20% chance of not consuming a health potion. The character in the front is by far the one that uses the most potions.
Her later level Desperate skill which makes is so she always plays twice when her health is very low is also better on a tank. In that situation, she will drink a potion and attack right away.
Eddie
He is also better as a tank with his later level Skin of Stone which has a 20% chance of blocking half of the incoming damage.
Mona
She is better as a ranged damage dealer due to her Eagle Eye skill. She will never miss an attack. This is probably the best skill in the game for damage as bosses do evade your attacks a lot.
Hoshi
He gets a 5% stun chance when using ranged weapons. Agility, intelligence, and strength (spears) work well. Stamina is the only attribute where the skill won't work.
The remaining three characters (Noel, Aiden, and Rosaline) don't seem to have a clear direction.
Quests: The Magical Forest
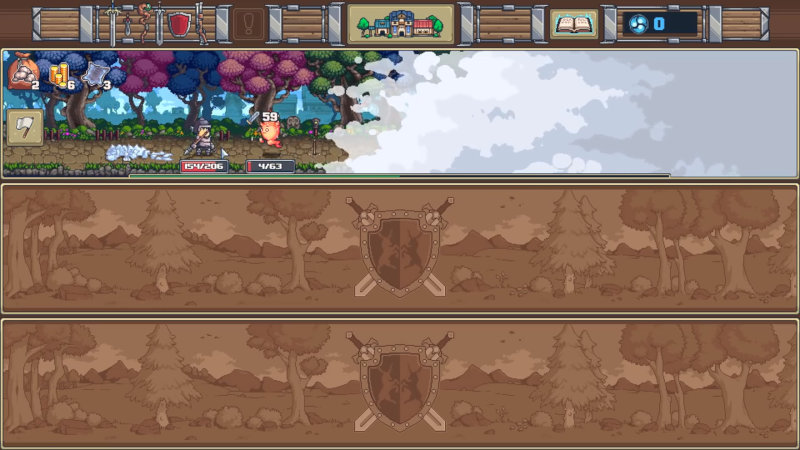
This is the first part. You will be playing with a single melee character for a few quests and then get a ranged character for the remaining.
This part is a bit like a tutorial to introduce you to the different game mechanics. It ends with the Owlman boss fight, which is very easy to beat with your two characters and normal gear.
Quests: Battlefield and Dark Ruins
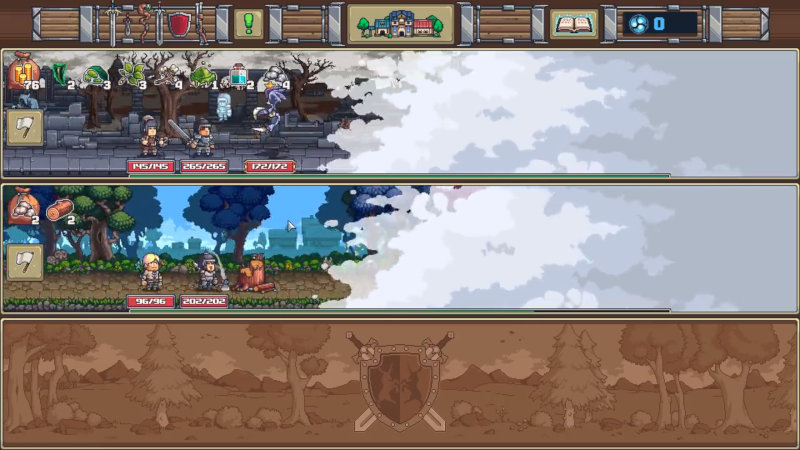
For the second part, you need to complete two different zones. Fortunately, you get access to the second adventurer group. I would suggest getting to a total of 4 characters, with one character specialized in each attribute (strength, agility, intelligence, and stamina).
Get your 3rd character early and gear him up enough that he will be able to farm the Magical Forest all by himself. This way, you will end up with a nice, stable income from selling low level crafted equipment, which will help train your other characters.
Make sure you do the the Essence research in the Library before grinding too much. Essence gathering works with all monsters, even the easy ones in the Magical Forest.
Once you get your 4th character, your goal should be to form two different teams that each are able to survive the Battlefield and the Dark Ruins. And to be able to send them on quests at the same time.
The part ends with two boss fights: Big Boy on the Battlefield, and Skull of Knowledge in the Dark Ruins.
AStout Heart I is an amazing church buff that will help you survive these bosses. It increases the health of a character by 100. Try to get it before the second boss fight against Big Boy, it will make a huge difference.
Quests: Hot Springs, Swamp and Underground City

At this point, you'll have to take a good break from questing. It becomes mandatory to make your teams and your characters stronger.
The game indicates that the new zones are level 24 to 50 and your characters definitely won't be around that level. I think that's exaggerated, I'd say level 15 with good gear is enough to survive well. But still, when I got there my characters were lower than level 10 and that is too low.
I would still suggest completing the first quest first. A reward is a third group of adventurers and a third character in each group. It makes a big difference.
Next, focus on making your teams stronger.
What I did was to gear up my two teams well enough so that they would be able to do the Battlefield and the Dark Ruins without needing potions, and to farm them for a good while.
Next, recruit and new character and make a new formation with a team of 3 and a team of 2. Your team of 3 should be your strongest characters, they will be the ones that will tackle the new quests, while your team of 2 will keep farming the lower level dungeons for the steady income.
Keep crafting, making gold and improving your team until both teams can survive the final dungeons.
From there on, it takes a while reaching the end bosses. You only gain 2% completion per run, and you need to get all three dungeons to 100% so that's 150 dungeon runs minimum that you need to complete and win.
As for the final bosses, Nameless is easy. The Rainbow Snake isn't too hard, and Okiki is a huge step up and is extremely difficult. The 500 ice damage to all characters per turn hurts a lot.
I had to take a pause there and to go back to grinding, just to prepare for the final encounter.
Items that increase magic resistance for everyone help a lot there. For example the amulet Heart of the Beloved increases magic resistance by 30-70, it makes a big difference.
Once you've beaten Okiki, congrats!
You've beaten the game!
Bugs in the game
Note: there is a bug in the game right now that allows easy, 90%+ regeneration per turn by using the Skin and Leather pants.
I believe this will get patched soon as the intended regeneration for the item seems to be 10% to 20%. This is what the Fashion House displays before you buy the recipe, and makes a lot more sense as it makes it similar to the other regeneration pants.